|
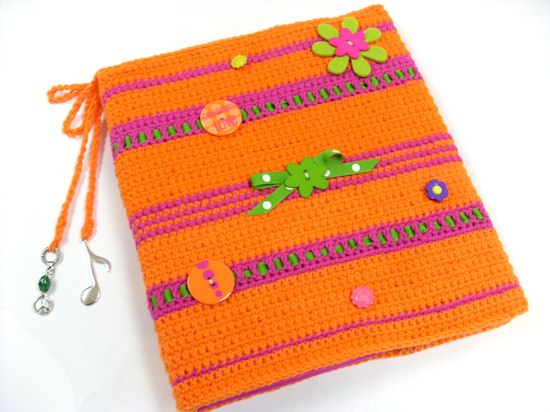
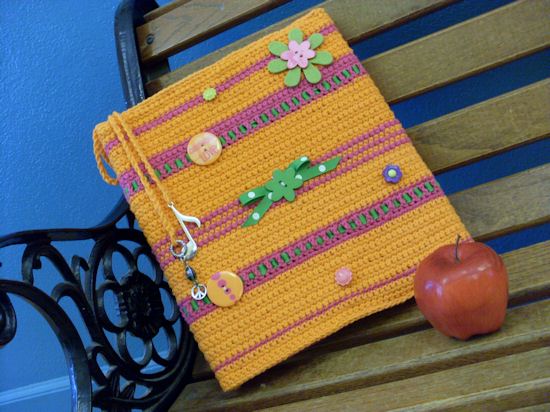 Get ready for back-to-school with a customized notebook cover. Designed to fit over a standard 1 inch thick loose leaf notebook, this cozy can be done up a number of ways. With the availability of custom buttons, charms & ribbons, the possibilities are limitless.
|
Sizes and Materials List …
|
|
| Size: | One size fits standard 1 inch thick notebook (Model notebook cover measures 31 ½ ” (edge to edge, before making flap folds) x 11 ¼” x 1”) |
| Hook(s): |
US F/5 (3.75 mm) |
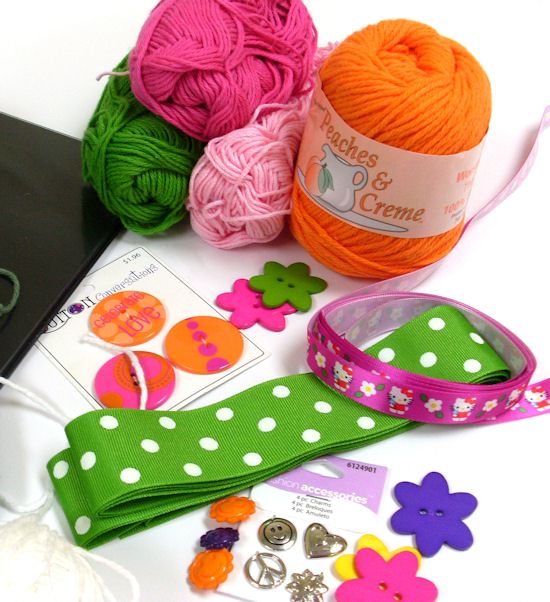
| Yarn: |
Lily Peaches & Crème [100% cotton, 120 yds/70.9 g ball] Lily Sugar & Cream [100% cotton, 120 yds/70.9 g ball] |
| Colors & Approx. Yardage |
(A) Peaches & Creme, Sunburst #11, 3 balls, 360 yds |
| Notions |
Yarn Needle |
 |
|
| Gauge: | 17 sts and 11 rows = 4”/10 cm Always take time to check your gauge |
  |
|
|
Notes …
|
|
| Working |
|
| Stitches Used | Chain (ch) Slip Stitch (sl st) Single Crochet (sc) Half-Double Crochet (hdc) Double Crochet (dc) |
| Abbreviations |
Each (ea) |
|
Instructions …
|
|
| Cover | |
| Base Chain | With A, ch 108. |
| Row 1 | Working in back loops, sc in 2nd ch from hook and in ea ch across. (107 sts) |
| Row 2 | Ch 1, turn, sc in ea sc across. |
| Rows 3-5 | Repeat row 2, changing to B at end of last row. Fasten off A. |
| Rows 6-8 | Ch 1, turn, sc in ea sc across, changing to A at end of row 8. Fasten off B. |
| Rows 9-15 | Ch 1, turn, repeat row 2 changing to B at end of row 15. Fasten off A. |
| Rows 16-17 | Repeat row 2. |
| Row 18 | Ch 2, turn, dc in ea sc across, changing to A at end of row. Fasten off B. |
| Rows 19-29 | Ch 1, turn, sc in ea dc across, changing to B at end of row 29. Fasten off A. |
| Row 30 | Ch 1, turn, sc in ea sc across, changing to A at end of row. Fasten off B. |
| Rows 31-35 | Repeat row 30, alternating colors at end of ea row, ending with A. |
| Rows 36-42 | Ch 1, turn, sc in ea sc across. |
| Row 43 | Ch 1, turn, sc in ea sc across, changing to B at end of row. Fasten off A. |
| Row 44 | Ch 1, turn, sc in ea sc across. |
| Row 45 | Ch 2, turn, dc in ea sc across. |
| Row 46 | Ch 1, turn, sc in ea dc across, changing to A at end of row. Fasten off B. |
| Rows 47-55 | Ch 1, turn, sc in ea sc across, changing to B at end of row 55. Fasten off A. |
| Row 56 | Ch 1, turn, sc in ea sc across, changing to A at end of row. Fasten off B. |
| Rows 57-60 | Ch 1, turn, sc in ea sc across. Do not fasten off yarn. |
| Side Flaps Side 1 | |
| Row 61 | Ch 2, rotate piece and hdc 44 sts evenly across row ends. (44 sts) |
| Rows 62-70 | Ch 2, turn, hdc in ea hdc across. Fasten off at end of last row. |
| Side Flaps, Side 2 | |
|
On opposite side of piece, join A and rep rows 61-70. |
|
 |
|
| Finishing … | |
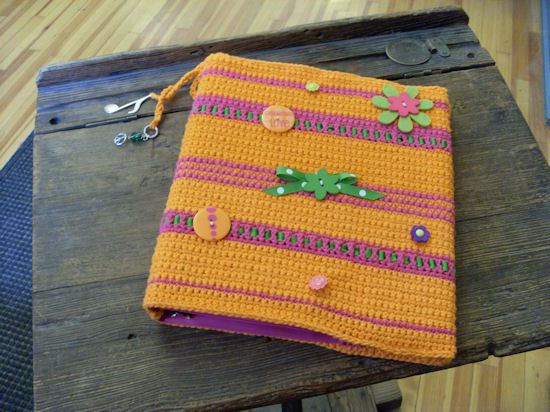
| Ribbon | Weave ribbon through dc (or hdc) rows, leaving about ¼ inch to be turned down for hemming. |
| Flaps | |
|
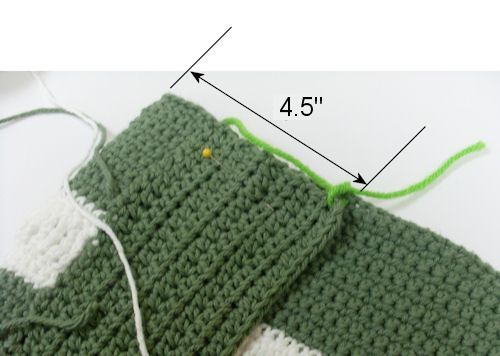
Lay cover flat, right side down, measure 4 inches from left side, fold over, and pin. Repeat for other side. Check against notebook for custom fit. |
|
 |
|
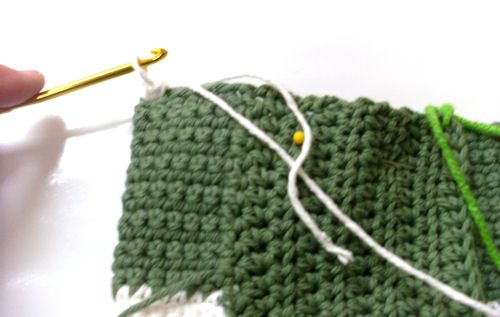
Starting at corner fold (see photo below), attach A, ch 1, sc in same st and in each st across to opposite flap corner, making sure to include both layers of folded edges. Finish off at opposite outer corner with 2 sc in last space.
 |
|
| Repeat for opposite side. | |
|
Weave in all ends, fold and hand sew ribbon ends inside the edge flaps for a neat appearance. |
|
|
Chain Tether – added to top and bottom of notebook spine to tighten up fit as needed |
|
|
|
|
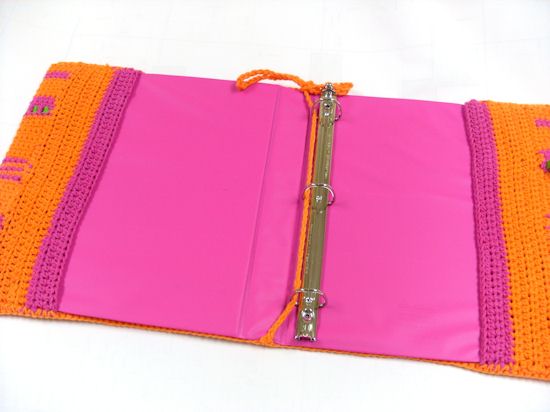
| Insert notebook into cover. Mark the middle of the space at the top and bottom of the area that covers the spine of the notebook. | |
| Beginning at the bottom space, attach yarn and chain 86. Fasten off. | |
| Repeat procedure for 2nd tether but only make 48 chains and fasten off. (The number of chains is an individual decision, based upon the length of tether desired).
Note: Use ribbon instead of the chains if desired. |
|
|
Securely attach charms to tether ends. Weave in ends and tie tether into a bow. |
|
 |
|
| Pattern and photos © Nancy Anderson | |